Some links on this website are affiliate links. If you make a purchase through these links, we may earn a commission or you may receive a discount, at no additional cost to you. This helps support our site.
Please also note that Artificial Intelligence (AI) may have been used in the research, content generation, and design of this website. Our aim is to enhance your experience, and we strive for accuracy and transparency in all information presented.
How to Capture Amazing Photos at the Lake
Key Takeaways
- Choose the right time of day for natural lighting.
- Experiment with different angles and perspectives.
- Include subjects like friends, family, or nature in your shots.
- Utilize reflections on the water to enhance your images.
- Pack essential photography gear, including waterproof bags and extra batteries.
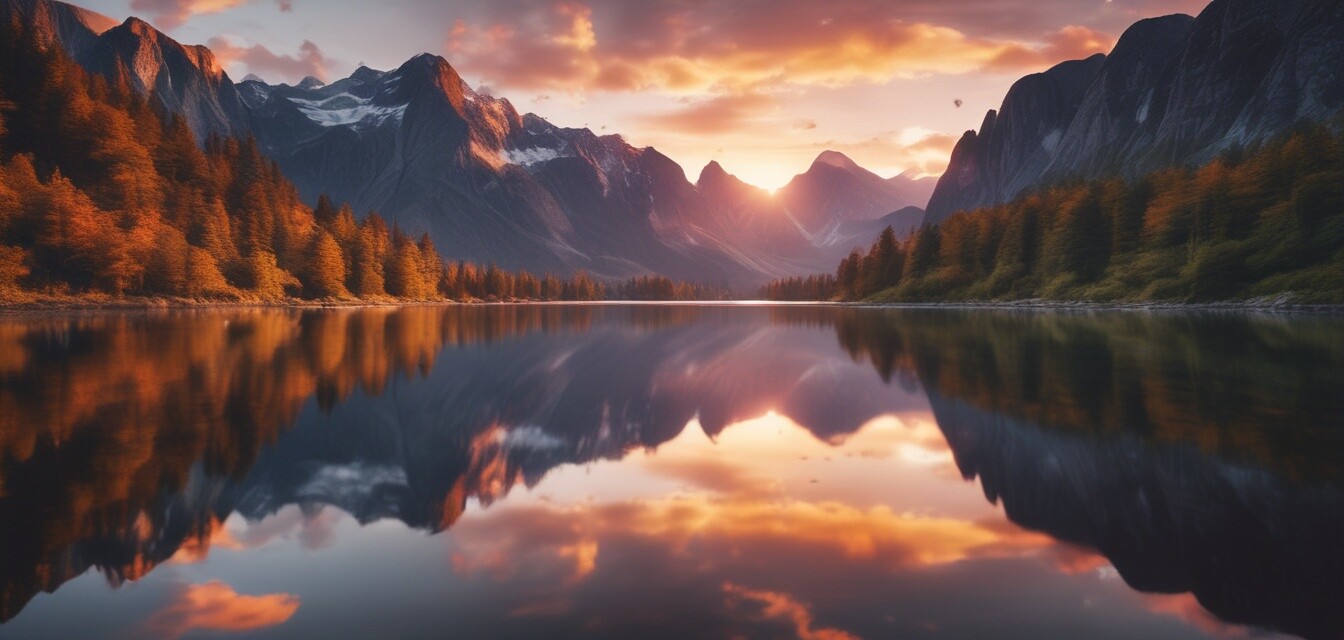
Capturing the beauty of a lake can create lasting memories and stunning social media posts. Whether it’s a family outing, a peaceful day fishing, or an adventurous watersport day, the right photography techniques can help you commemorate these experiences. In this article, we provide practical tips for photographing your lake adventures.
1. Best Times to Shoot
The lighting can significantly impact your photos. The best times to shoot are:
- Golden Hour: Just after sunrise or before sunset for soft, warm light.
- Midday: Ideal for vibrant colors, but harsh shadows; try using a polarizing filter.
- Blue Hour: Just before sunrise or just after sunset, providing a dreamy ambiance.
2. Techniques for Stunning Shots
Here are some useful techniques to enhance your lake photography.
- Use Reflections: Capture the lake's surface for amazing reflection shots.
- Play with Angles: Get low to the water or shoot from above a rock ledge for dynamic perspectives.
- Focus on Composition: Follow the rule of thirds to create balanced images.
3. Essential Gear for Lake Photography
Make sure you have the right equipment:
| Gear | Description |
|---|---|
| Camera | A DSLR or mirrorless camera is ideal for quality photos. |
| Waterproof Case | Protect your gear from splashes and unexpected rain. |
| Lens Filters | Polarizing filters can reduce glare and enhance colors. |
| Tripod | Stabilize your shots, especially in low light conditions. |
4. Interesting Subjects to Include
Adding interesting subjects to your photos can tell a story. Consider these elements:
- People: Capture friends and family enjoying the lake.
- Wildlife: Photograph birds, ducks, or any animals in the area.
- Activities: Get shots of waterskiing, paddleboarding, or fishing.
5. Editing Your Photos
Post-processing can help enhance your images:
- Adjust Exposure: Ensure the light in your photos is balanced.
- Enhance Colors: Boost the vibrancy to make your images pop.
- Crop the Image: Eliminate distractions and focus on your primary subject.
6. Share Your Photos
Once you’ve captured and edited your photos, it’s time to share them with friends and family. Consider:
- Social Media: Use platforms like Instagram and Facebook to showcase your lake memories.
- Photo Journals: Create a scrapbook memory of your trips with printed photos.
- Online Galleries: Use photography websites or blogs to exhibit your works.
Beginners section
For those new to photography, here are simplified tips to get started:
- Start with your smartphone if you don't have a camera.
- Practice taking photos during different times of day.
- Experiment with framing; take horizontal and vertical shots.
Pros
- Capture memorable moments.
- Share experiences with others.
- Enhance your creativity and skills over time.
Cons
- Can be challenging without the right equipment.
- Weather conditions can affect shooting.
- Editing may be needed to achieve great results.
For more tips related to photography and lake adventures, be sure to check our Tips and Tricks section. Explore how to maintain your gear or learn the best practices for enjoying lake fun.